A couple of months ago I saw a video about custom keyboards and started wondering how much actually it costs to build one. Now I knew it was expensive, but decided to have a look at some parts and see if maybe I could build a budget custom keyboard.
I will try to explain the whole process, show some pictures of the keyboard and share my thoughts on whether I feel it's worth it.
The idea
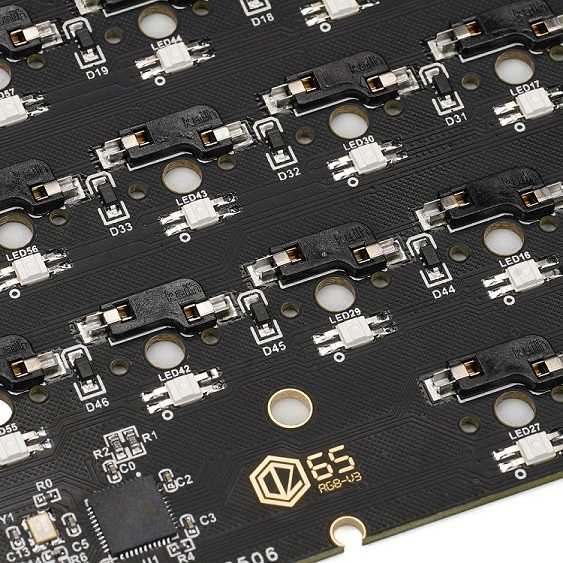
So I started looking at some PCBs and at that point I still hadn't made my mind up that I was going to actually build a keyboard. As I was looking I found this PCB called DZ65 RGB HotSwap v3 which I thought was super cool. I didn't think that was too expensive, so I was almost ready to order one. Good thing I looked at the other parts I needed before ordering anything.
While the PCB was around £50 a good quality case could easily reach £100. Add to this key switches, keycaps, stabilisers, lube, etc. The total could easily go above £250 - £300. And while I understand why these parts are so expensive I wasn't gonna spend that much on a keyboard that I didn't really need.
The DIY way
I still wanted to build a keyboard, so I had the idea to 3D print a case since it was the most expensive part and still buy the rest of the parts that I needed for the build.
Case
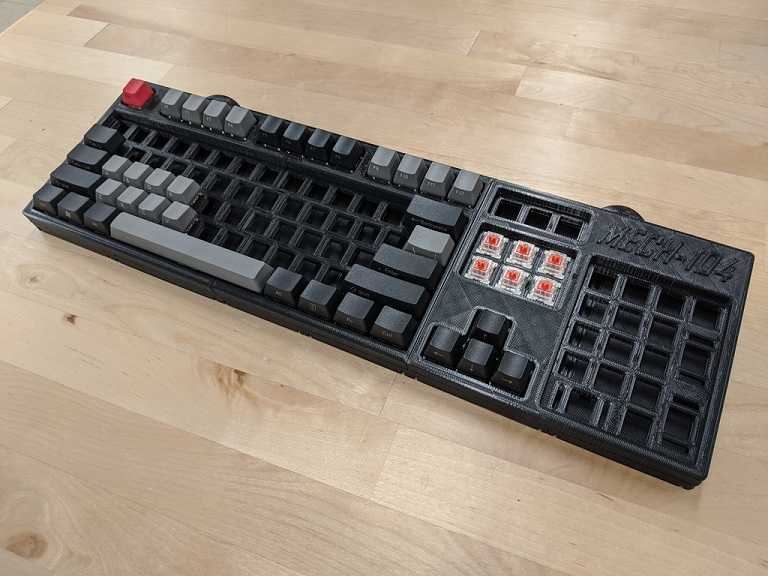
Turns out there are quite a lot of keyboard models around ready for 3D printing. I chose this one as it was the only full size case that I could find.
Switches
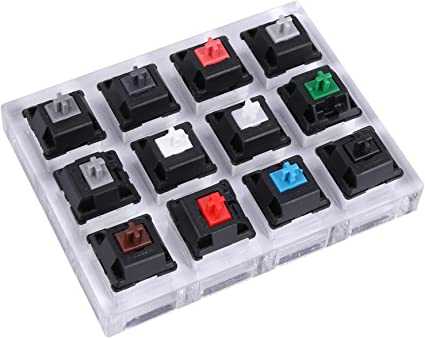
Thinking that I solved the case problem I started looking at different switches. I picked up a Cherry MX switch tester from Amazon for £15 and was sort of able to choose a couple of switches that I like.
I couldn't order some however, since they were either super expensive or out of stock. Until that point I had only focused on Cherry MX switches, which are good switches, but as it turns out there are lots of other brands of switches with weird names that are as good if not better.
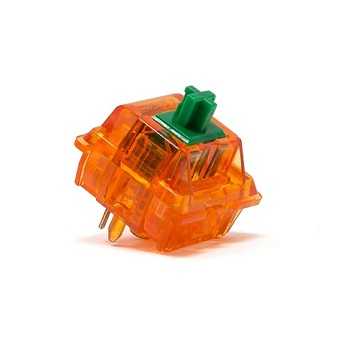
After deciding to look at other switch brands I liked the Tangerine switches which are linear switches with an interesting appearence. (I cannot comment on their performance as I didn't choose them in the end)
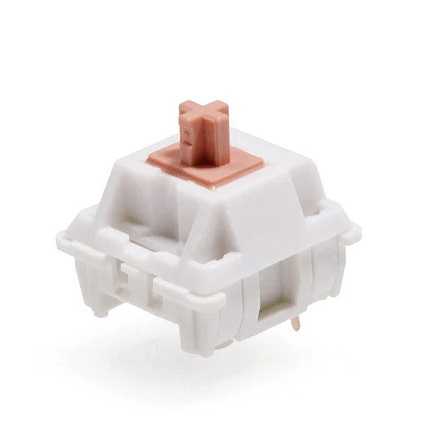
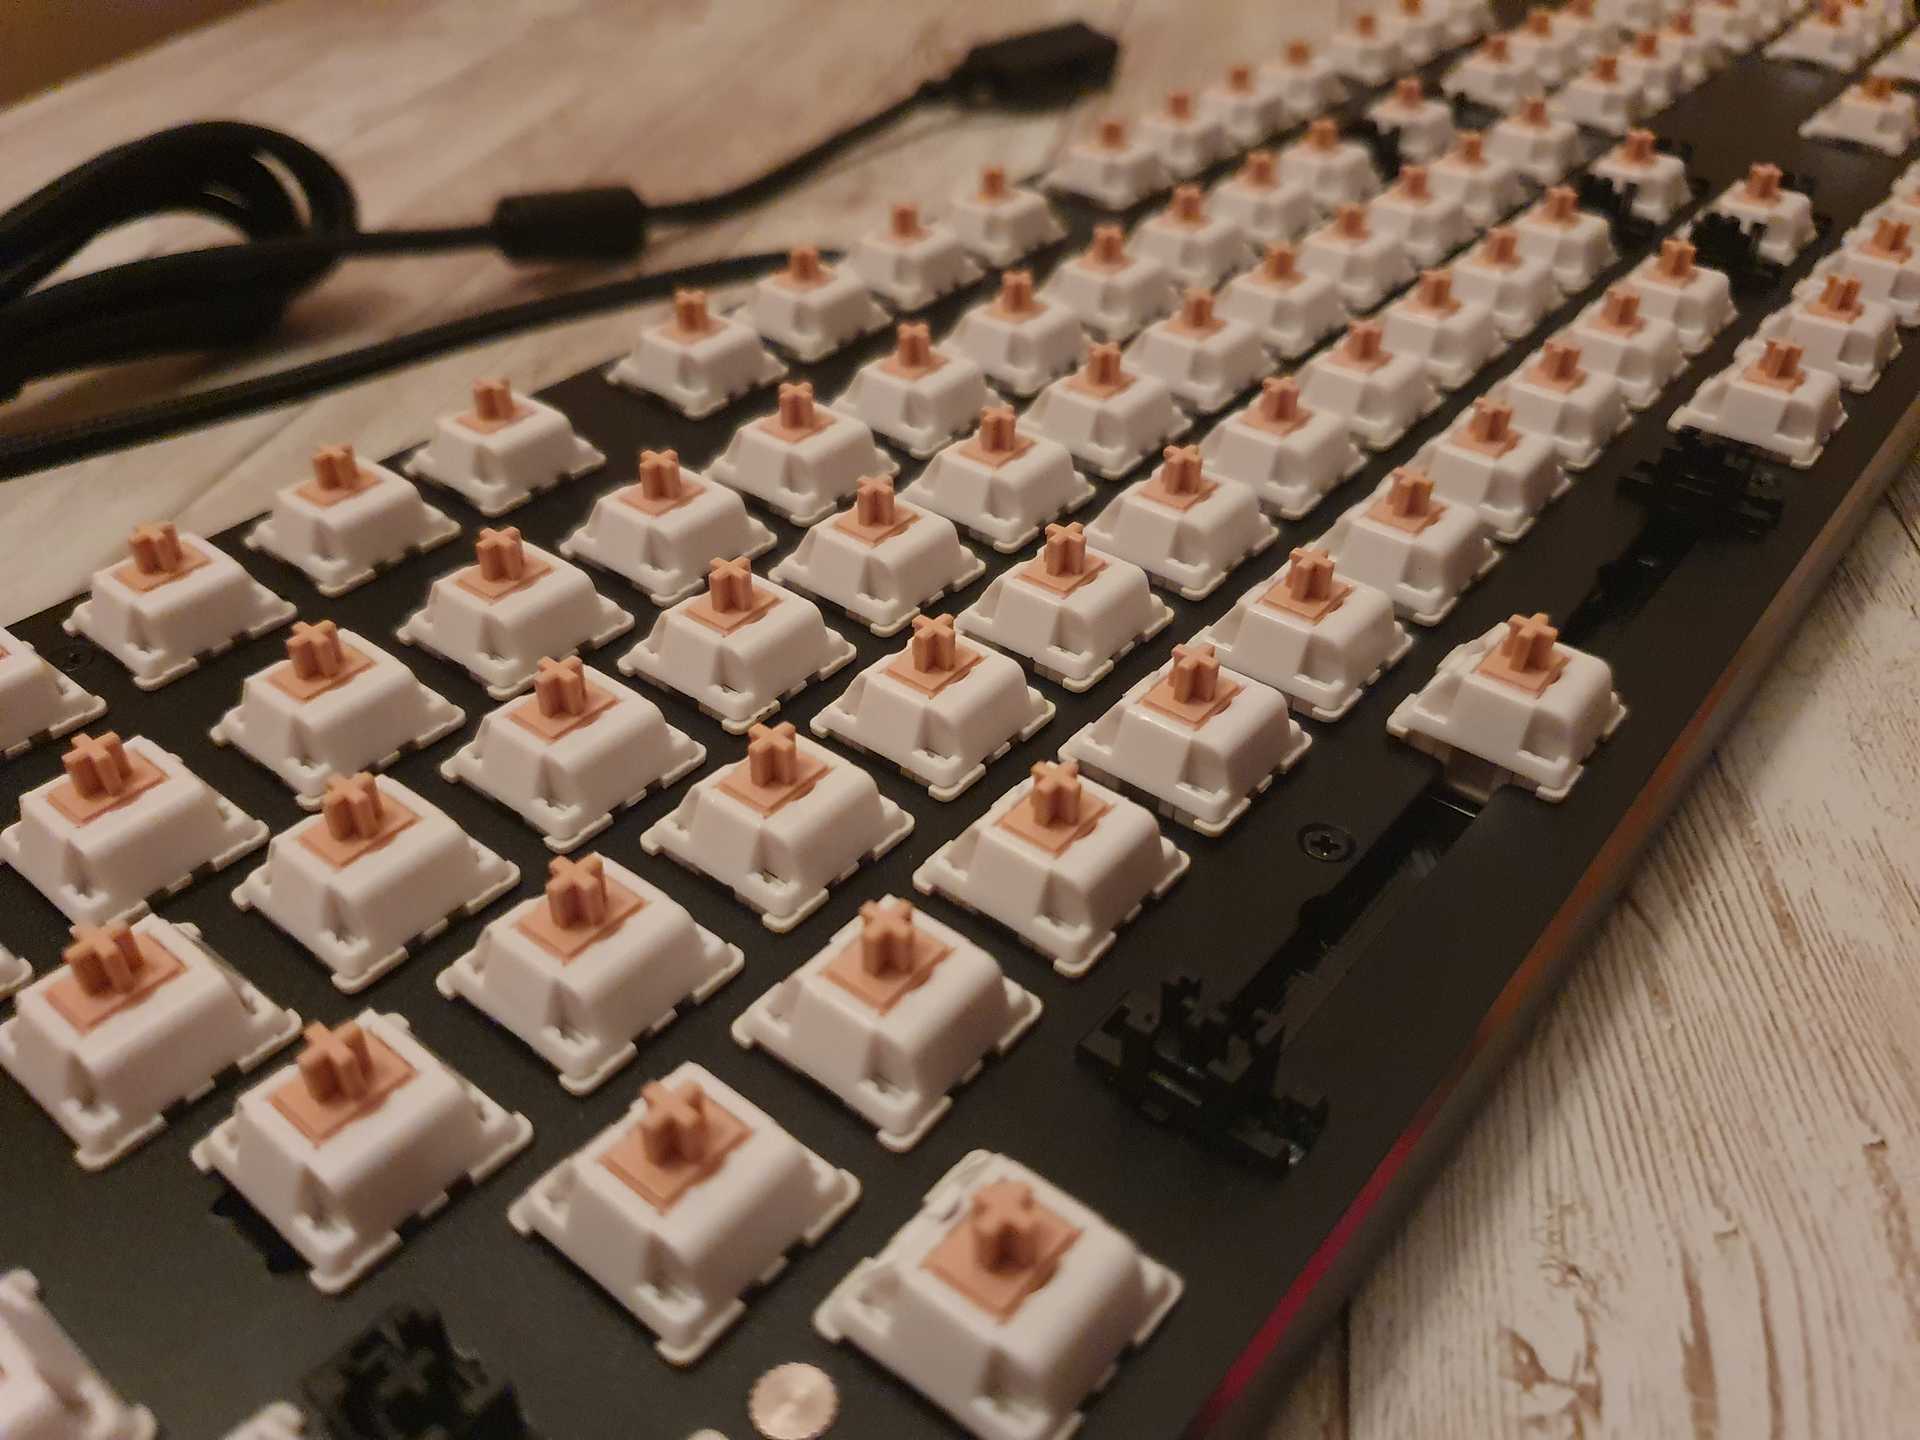
I chose to go with the Holy Panda switches by Feker which are somewhat lighter tactile switches with a really cool look in my opinion. They were also quite cheap compared to other switches. A total of 120 switches cost me £42.50.
Stabilisers
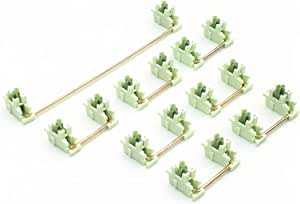
I wasn't super familiar with stabilisers, so I just ordered the first ones that I liked from Amazon for £12.79. This was a bit of a mistake since they wouldn't have fitted the 3D printed case, but as you will see later they turned out to be the right stabilisers.
Keycaps
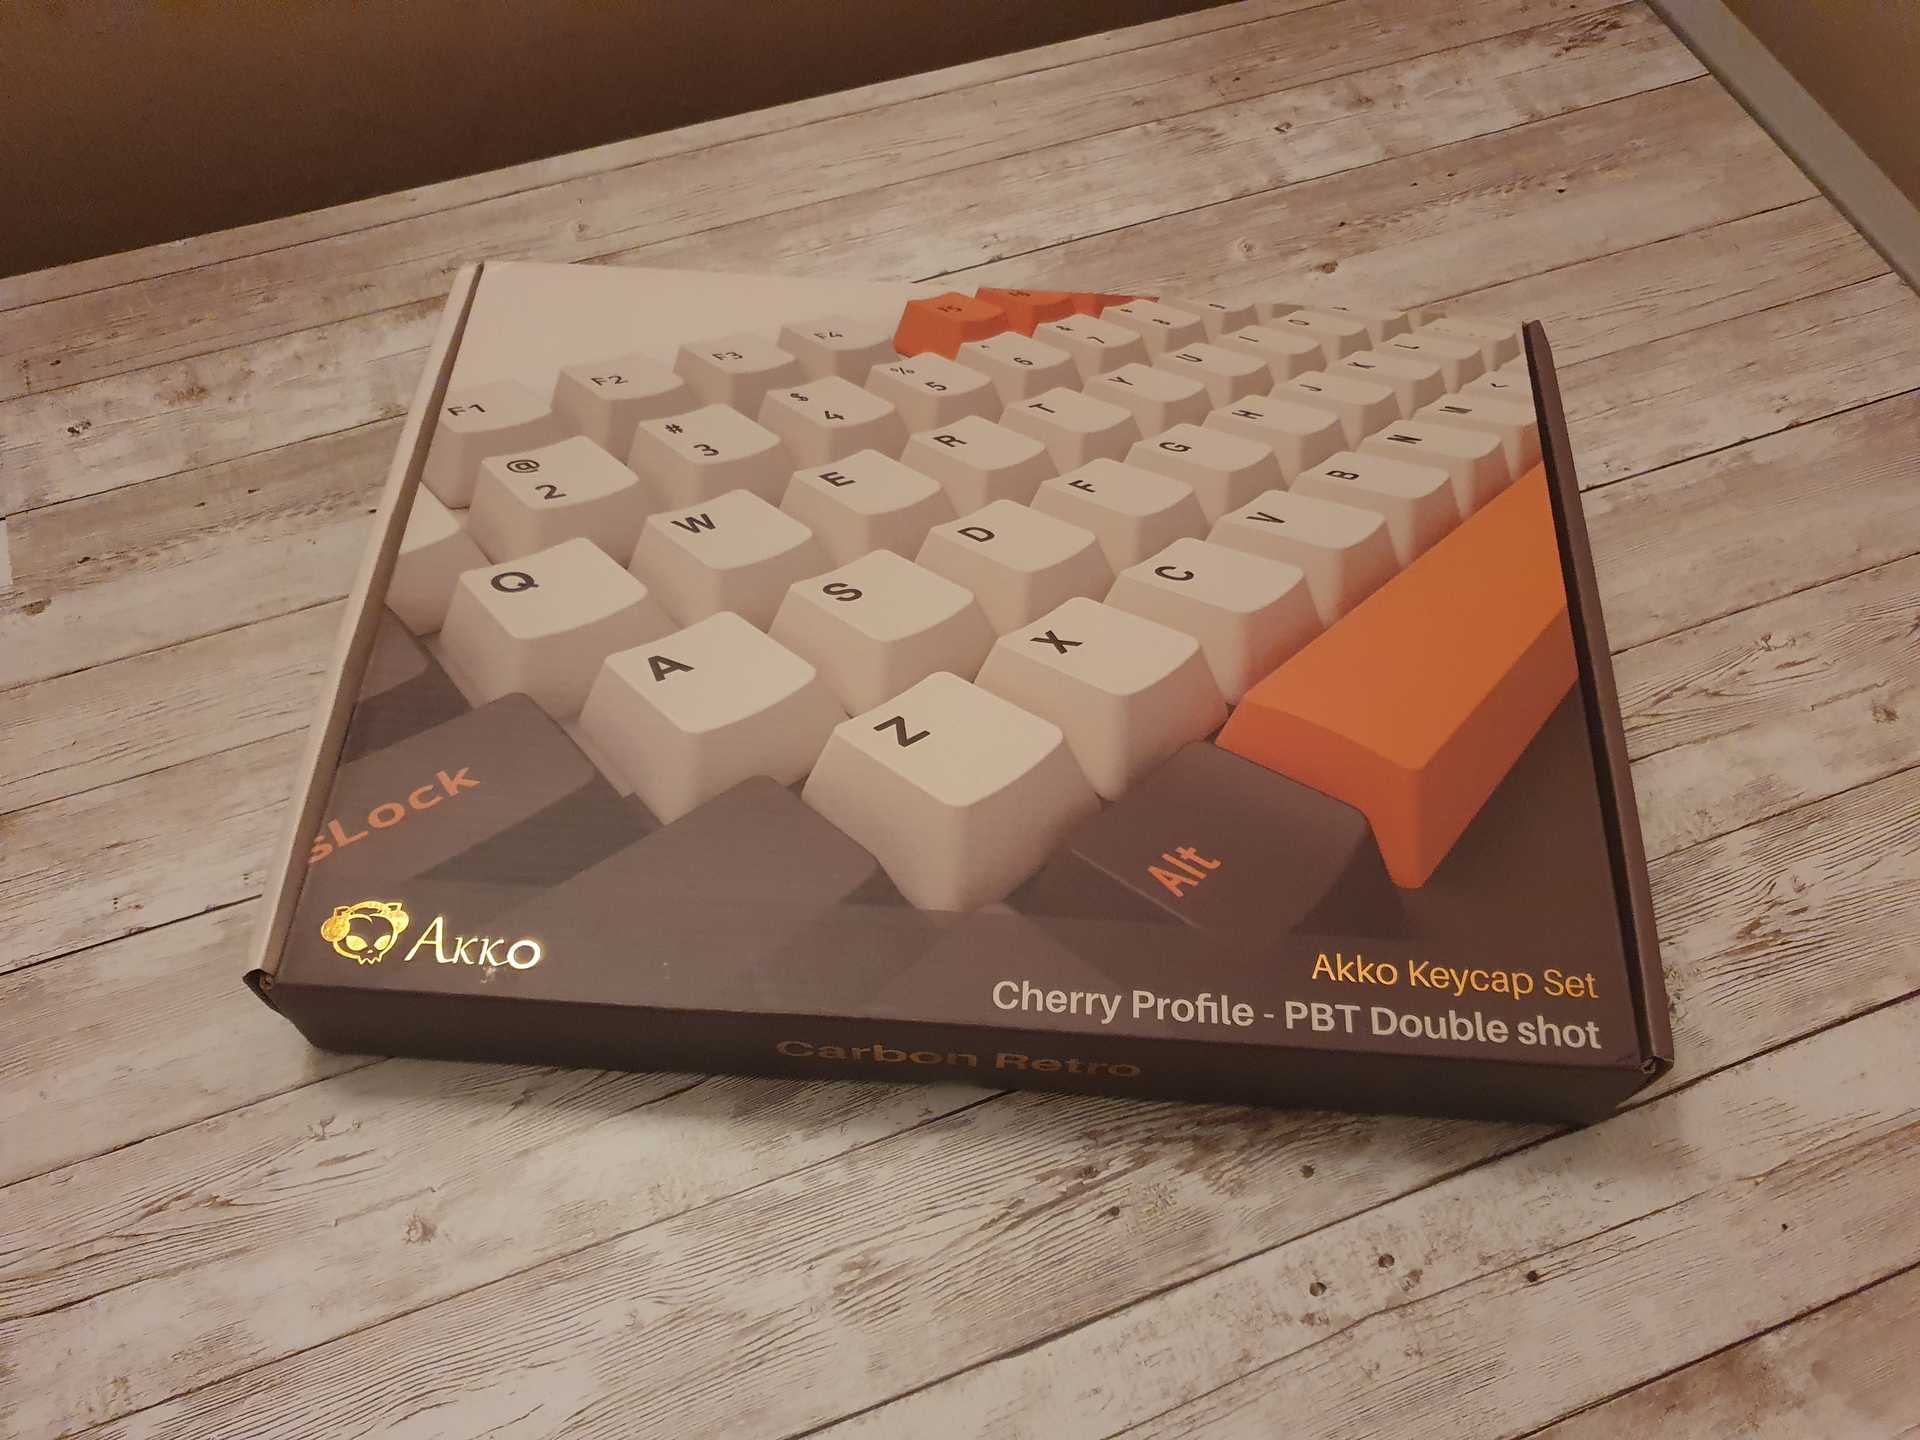
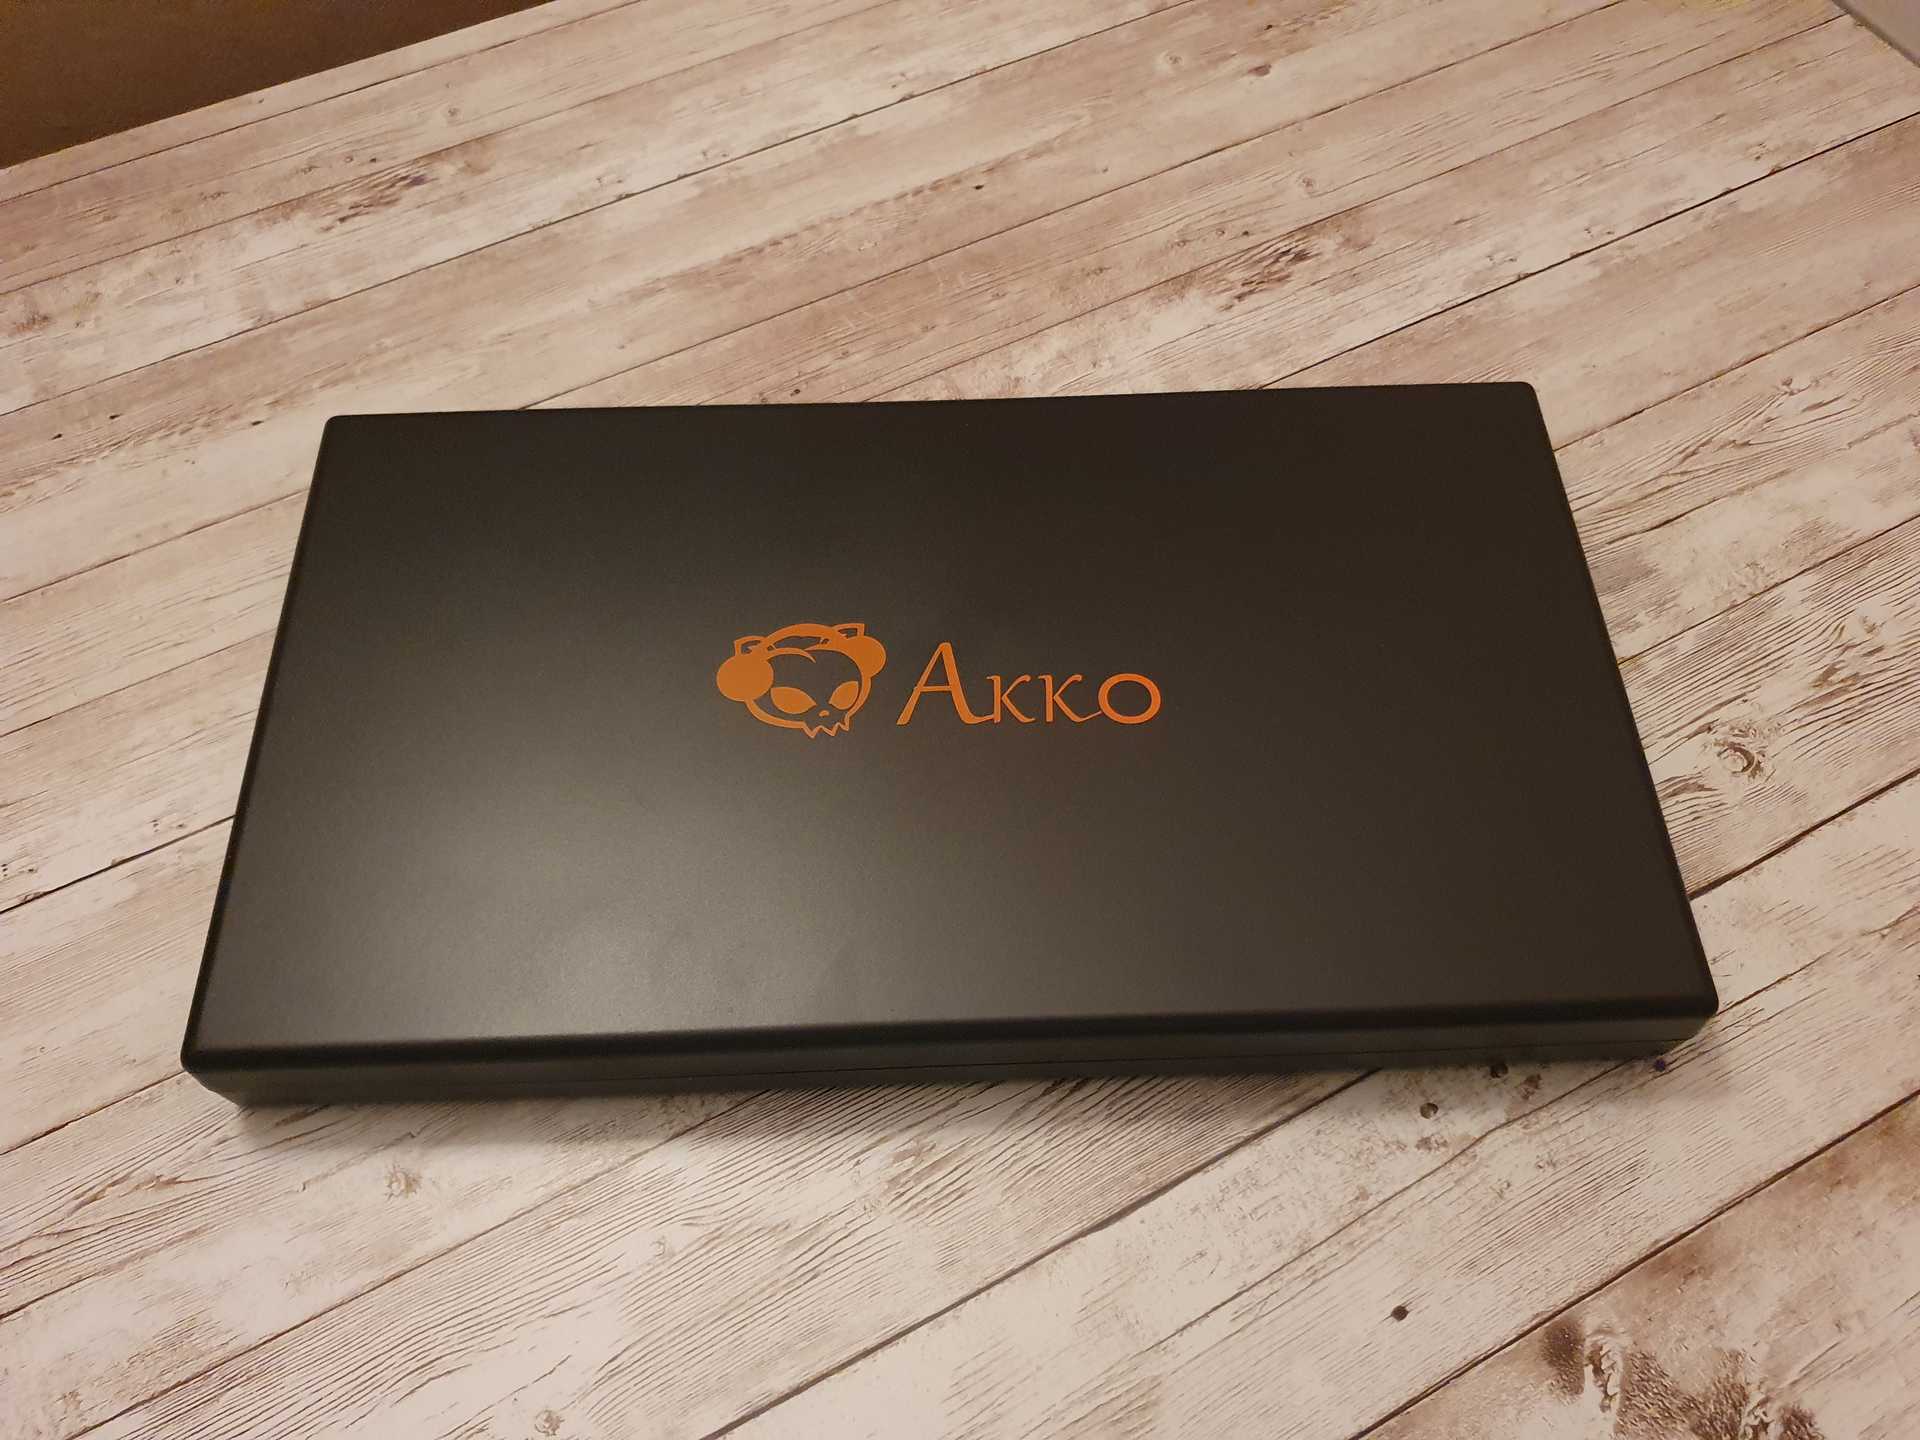
I chose the Akko Carbon keycaps which I got from Amazon for £39.21. They looked pretty nice, though they are not backlit. (Didn't think I was gonna need them to be backlit)
The rest
Since I was going to use a 3D printed case I couldn't use the PCB that I liked. The instructions on the Thingiverse page explained that this case had to be custom wired. For this I needed diodes, wires, a controller and a good soldering iron.
I got 28 AWG solid core wire from Amazon for £15.99. (I got way more than I needed, since I will need it for other projects too)
I also got a bunch of 1N4148 diodes and 60/40 - tin/lead rosin flux core solder wire from Ebay. The diodes were £6.88 and the solder wire was £10.74.
For the controller I got a Raspberry Pi Pico W though I'm still not sure if it will work with the KMK firmware. It was £5.40 from The Pi Hut.
In terms of lube I got a tactile switch lube bundle that included everything needed to lube switches & stabilisers. It was £27.99 which is pretty high for some lube and some tools, but I just couldn't be asked to spend any more time looking for parts.
I also got a nicer soldering iron than the one I had, though I will not be adding it to the total cost of the keyboard.
The disaster
Now I had all the parts that I needed for the build, and only needed to print the case. I alredy had a 3D printer as well as some old black PLA fillament. However printing didn't go as planned. Without going into too much details the fillament that I had wasn't very good. Ordering a good quality fillament in a nice colour that I liked was going to take too long. In the end I decided to postpone this project due to time constraints.
Here is a list of all the parts that I got until now:
| Item | Price |
|---|---|
| Feker Holy Panda Switches | £42.50 |
| Epomaker MMD Stabilisers | £12.79 |
| Akko Carbon Keycaps | £39.21 |
| 28 AWG Solid Core Wire | £15.99 |
| 1N4148 Diodes | £6.88 |
| 60/40 - Tin/Lead Rosin Flux Core Solder Wire | £10.74 |
| Raspberry Pi Pico W Controller | £6.73 |
| Tactile Switch Lube Kit | £27.99 |
The total of all parts was: £162.83 (Not including tools)
Here is a list with the tools that I got for this project:
| Item | Price |
|---|---|
| Pen-Style Soldering Iron | £30.63 |
| Hakko Soldering Tip | £11.83 |
| Switch Tester | £14.99 |
The total of everything until that point was: £220.28 (Oof)
Actual build
However I'm not the type of person that gives up that easily, so I started looking at some keyboard kits. I found a couple kits that weren't too expensive, but were 60% which I didn't like. There were some 65% kits which I liked more, but they were sold out.
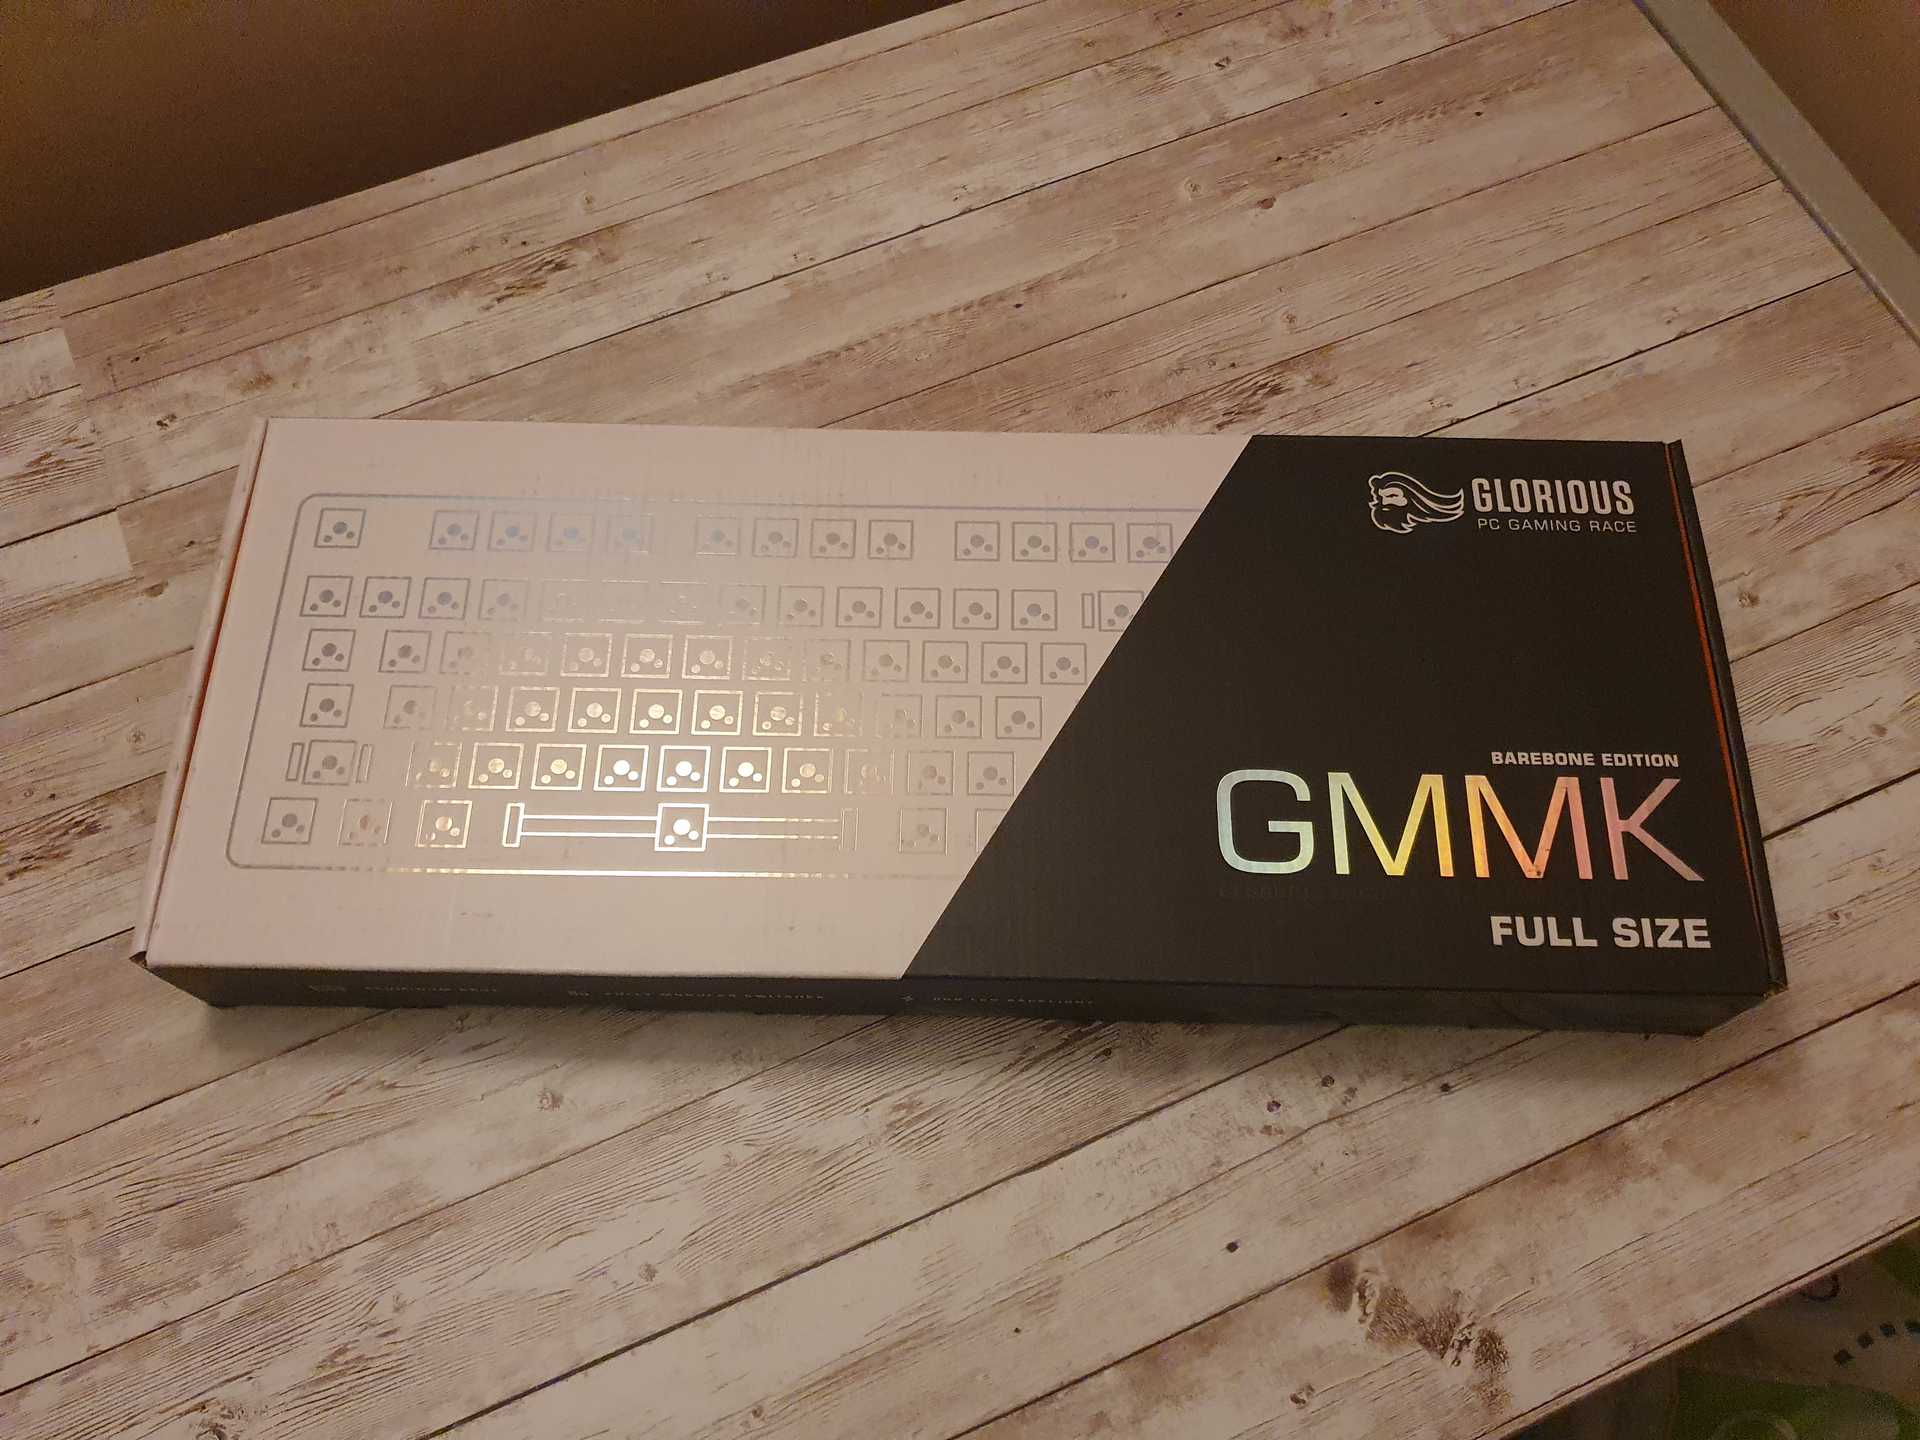
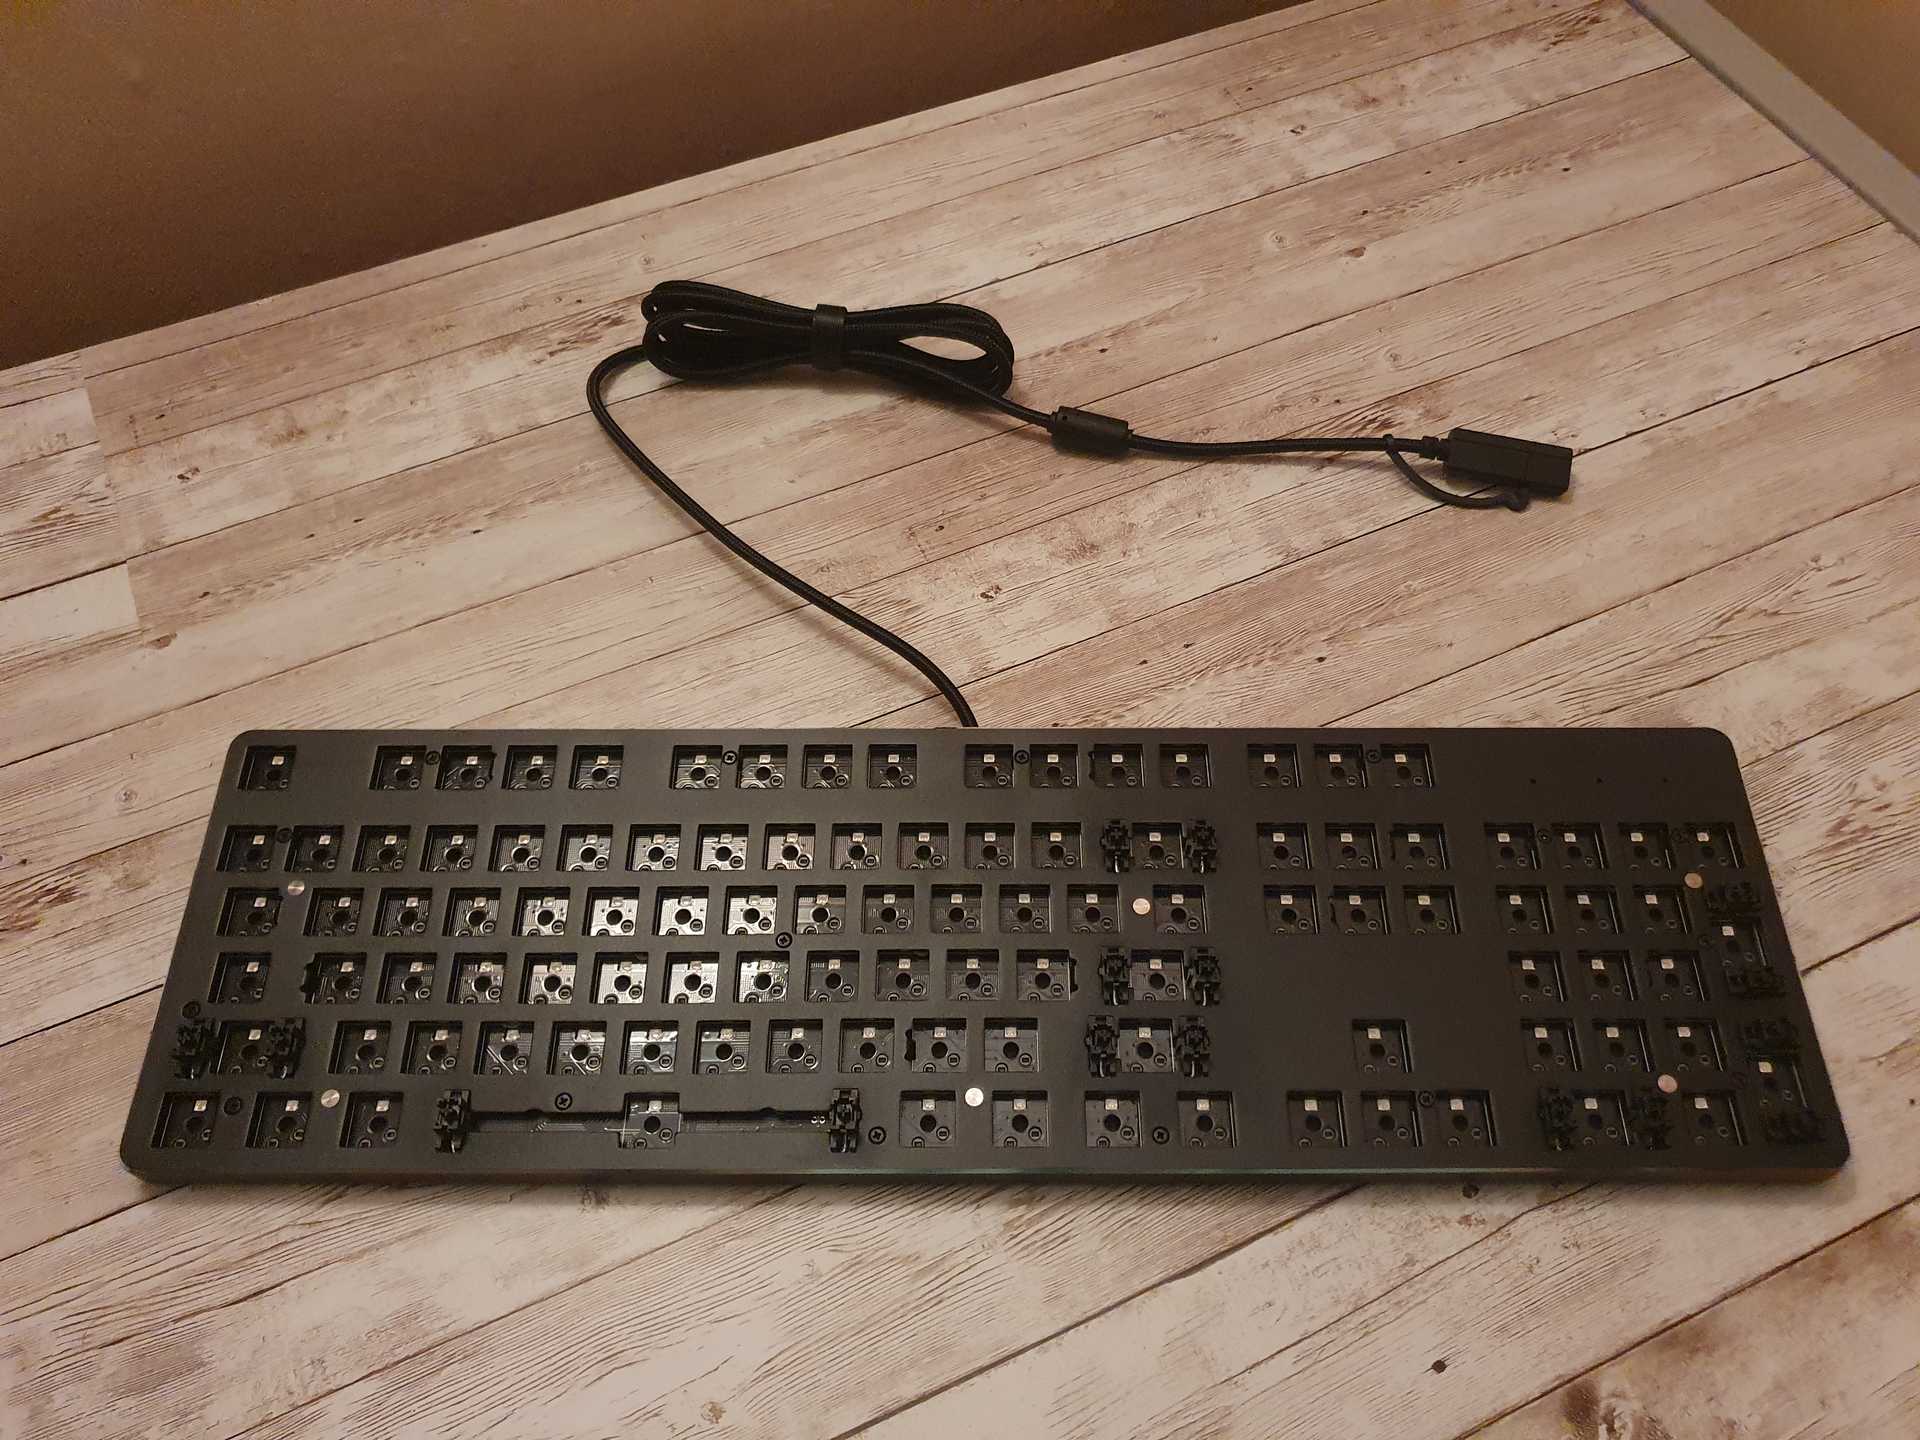
Here is where I got super lucky. I was looking for a full keyboard case and found the Glorious GMMK which is basically a complete keyboard without the switches and keycaps. I managed to get the last one from Amazon for £87.65.
Parts
Here is a list of all the parts that I ended up using:
| Item | Price | Image |
|---|---|---|
| Feker Holy Panda Switches | £42.50 | |
| Akko Carbon Keycaps | £39.21 | |
| Glorious GMMK | £87.65 |
Total: £169.36
Process
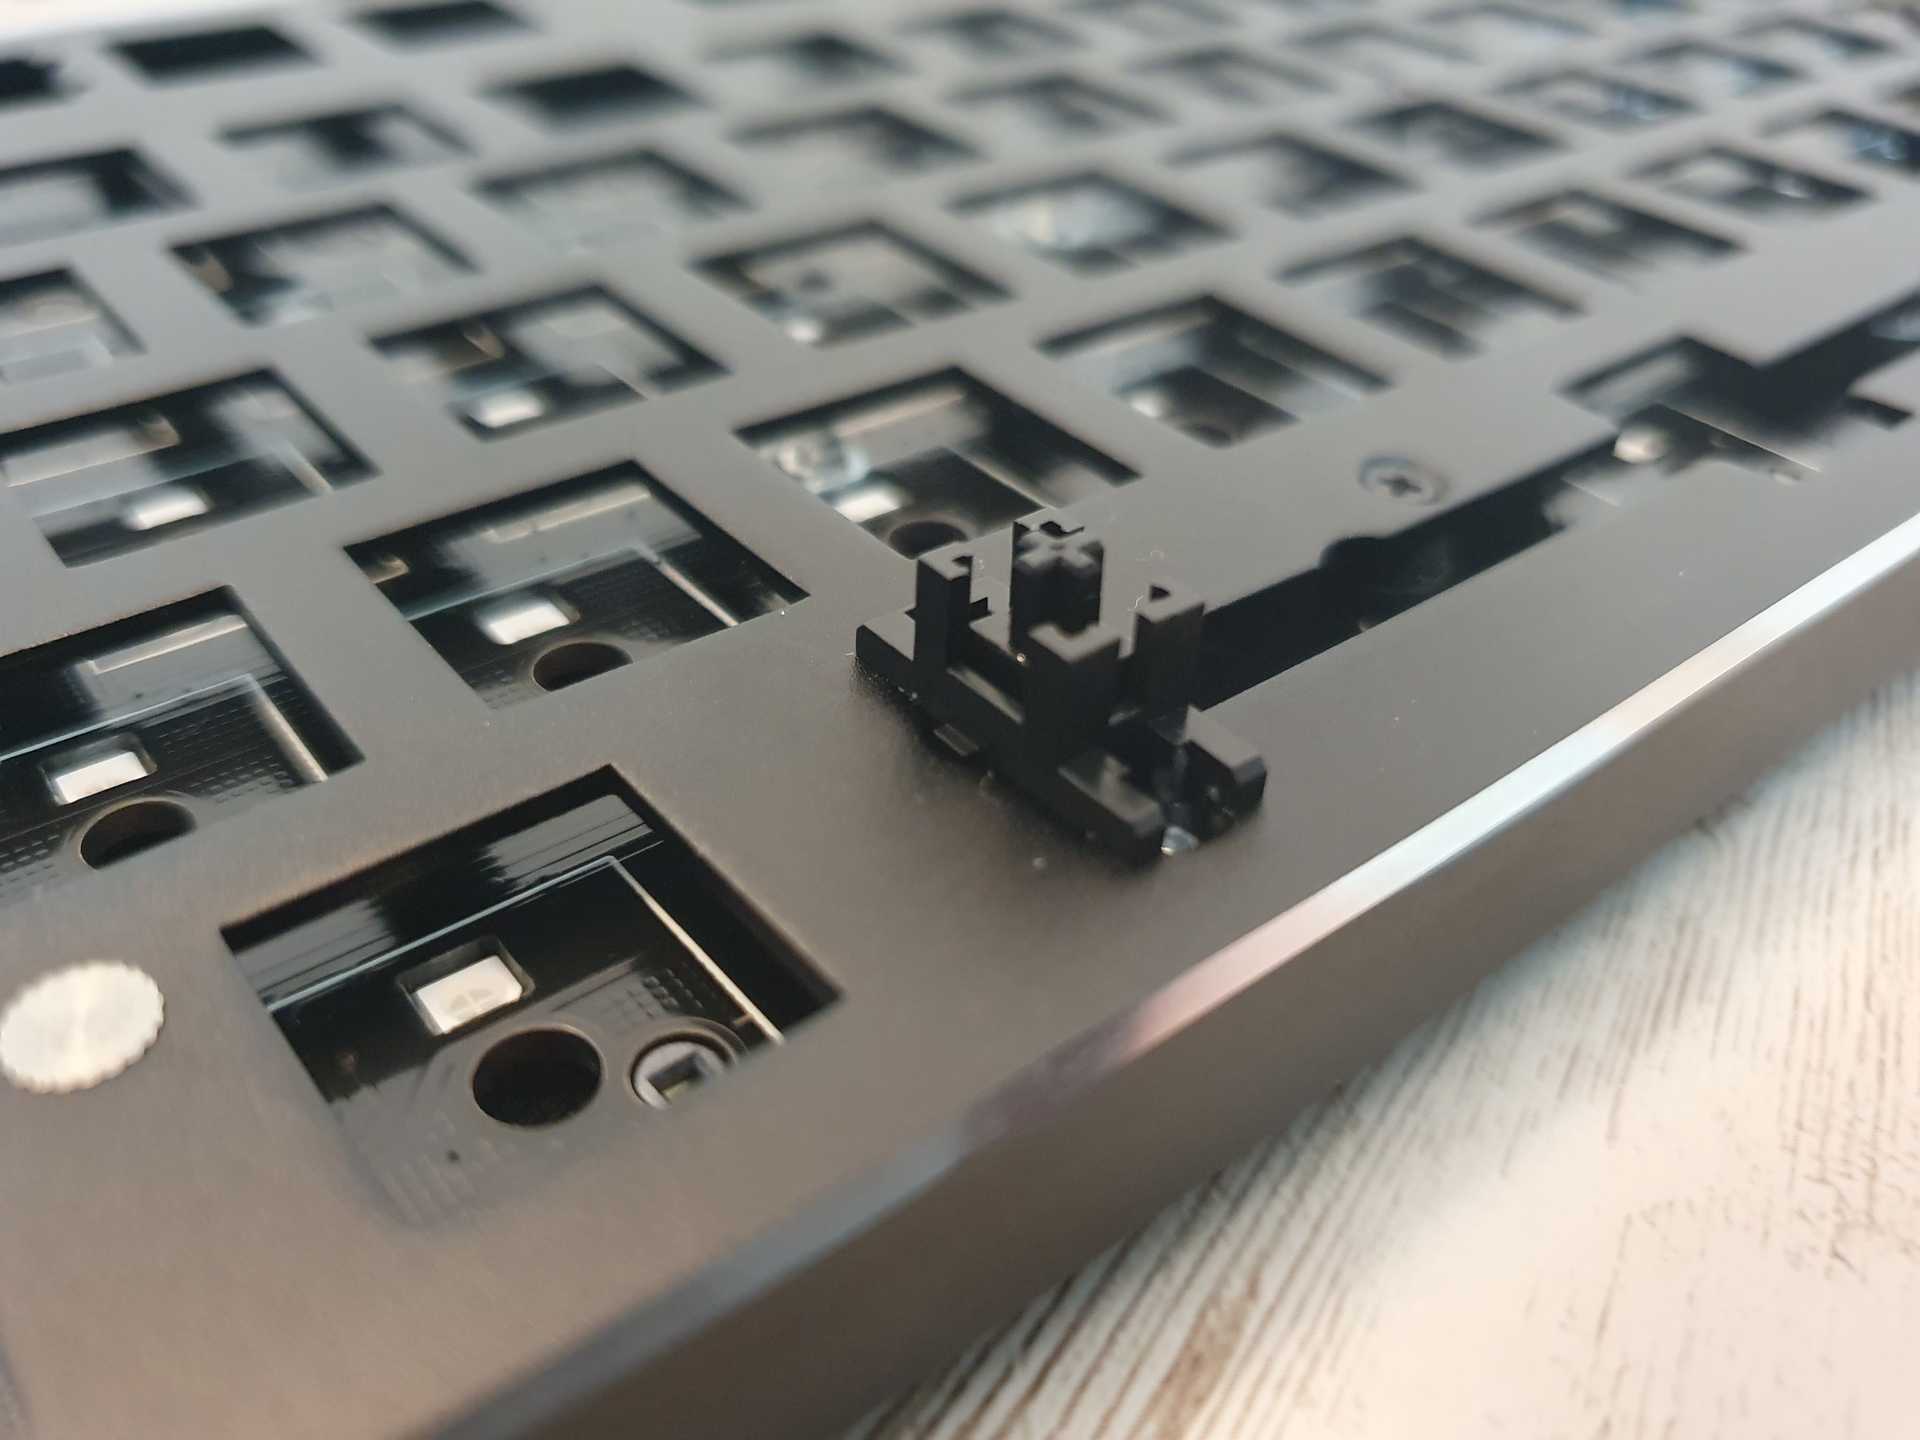
I started with the Glorious GMMK base. It already had stabilisers installed, so I didn't use the ones that I got from Amazon, but I checked and it seems like they would fit if I ever wanted to use them.
The stabilisers that were installed were also alredy lubed, so I didn't have to do that either, though I may do it at some point if I ever feel like it's needed.
Next was installing the Feker Holy Panda switches. The Glorious GMMK base requires 104 switches, but I ordered 120 since it's better to have a couple more than to have a couple less. Plus some of them could've been damaged during shipping.
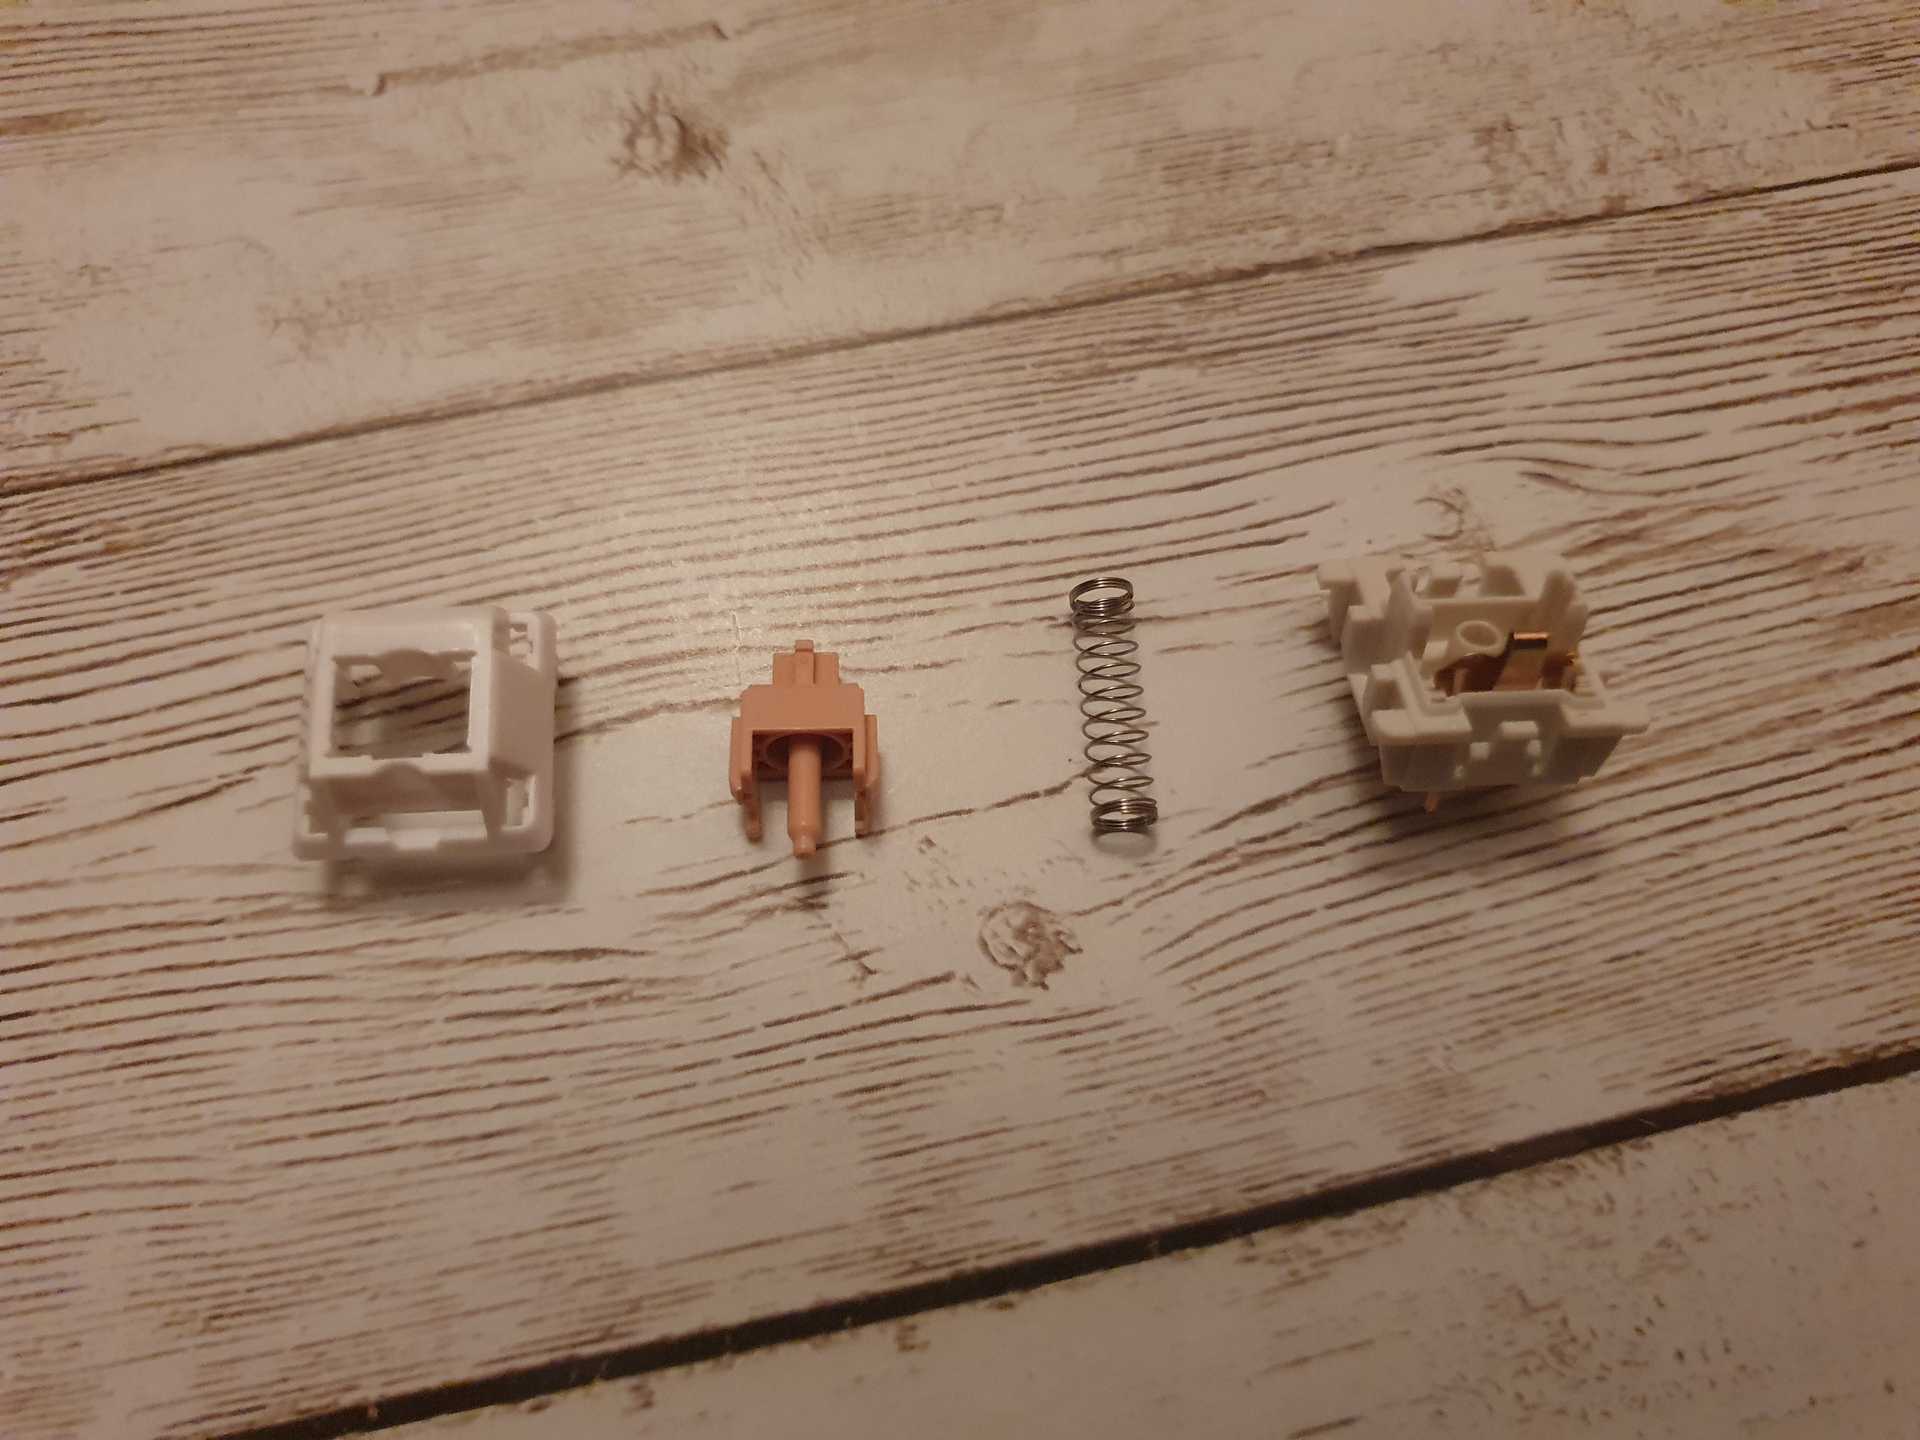
I was planning to lube all the switches, but upon dissasemying one of the switches I noticed that there is some lube on them alredy, so I skipped this for now. I may go back and lube them if I ever feel like doing it.
I installed all the 104 switches. I used an online keyboard tester to test if all the switches worked and fixed any that didn't. (Take out the switch and straighten up the pins)
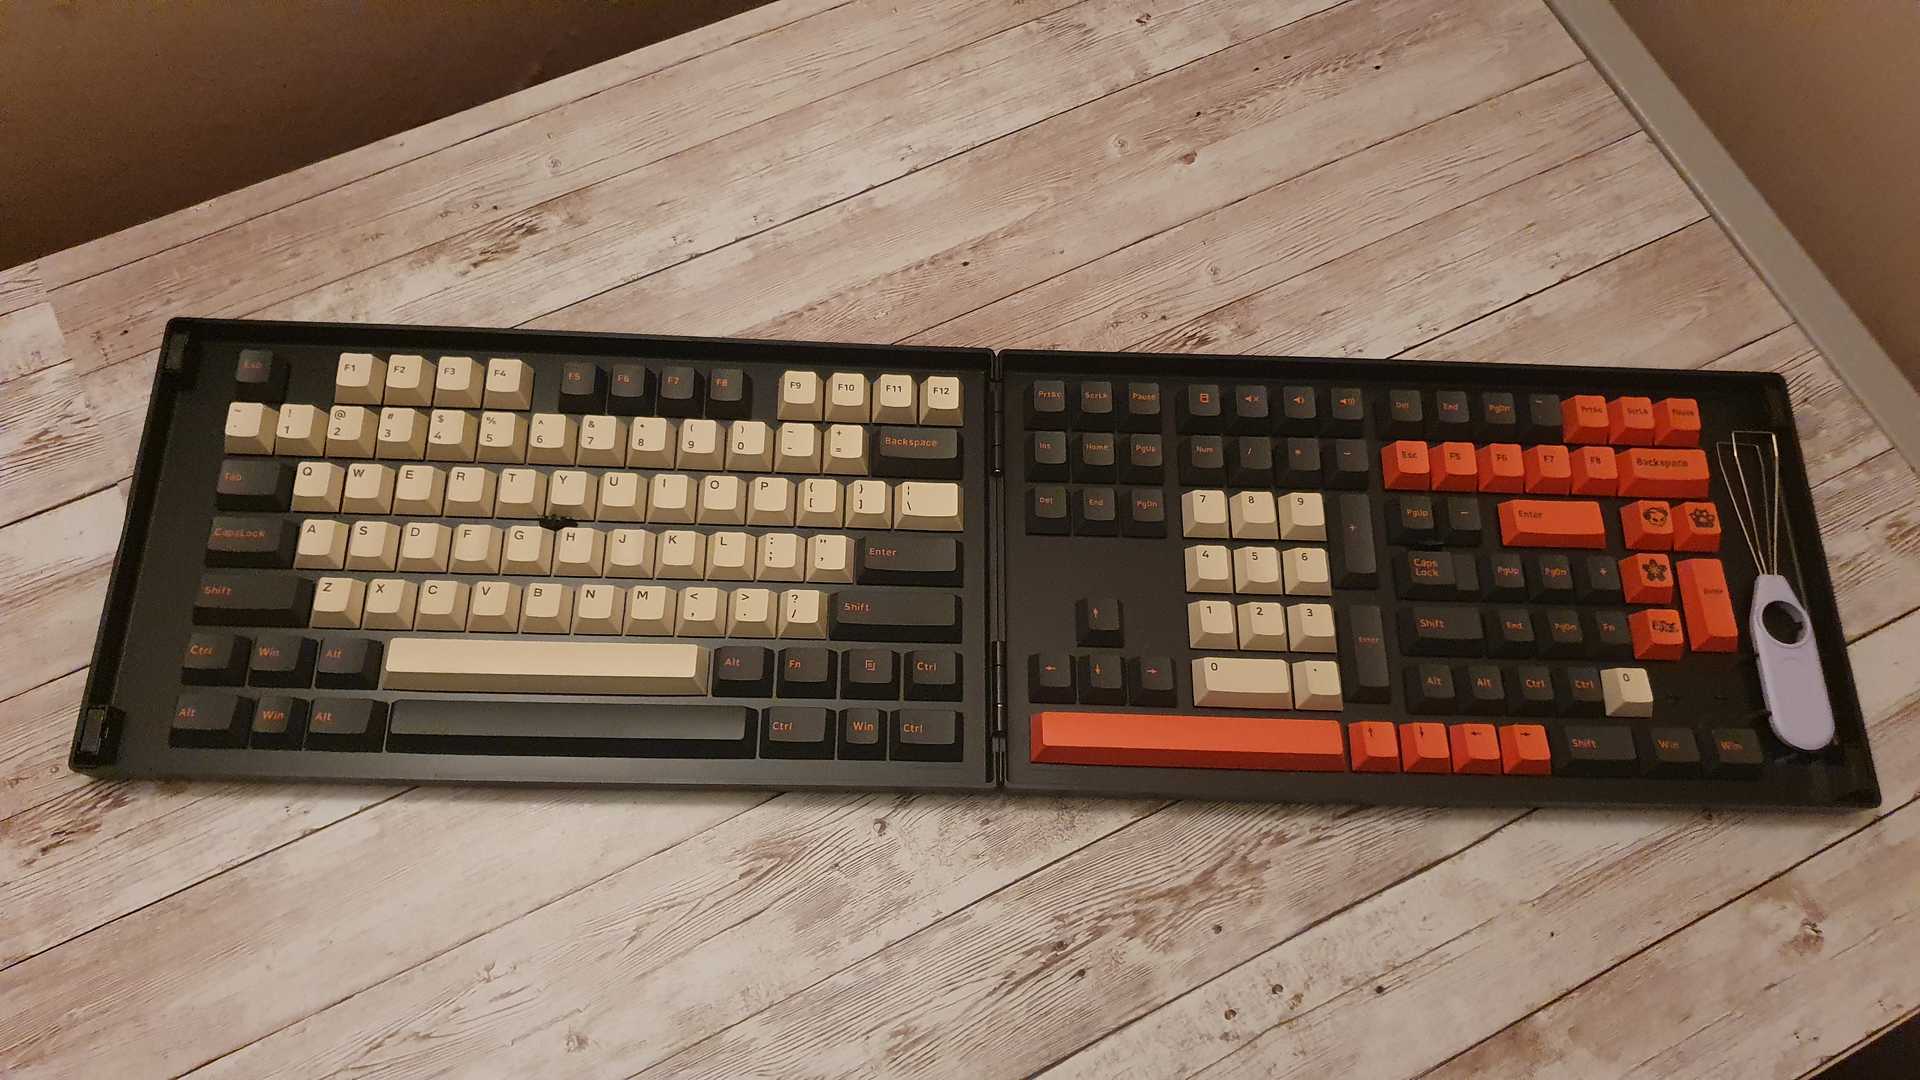
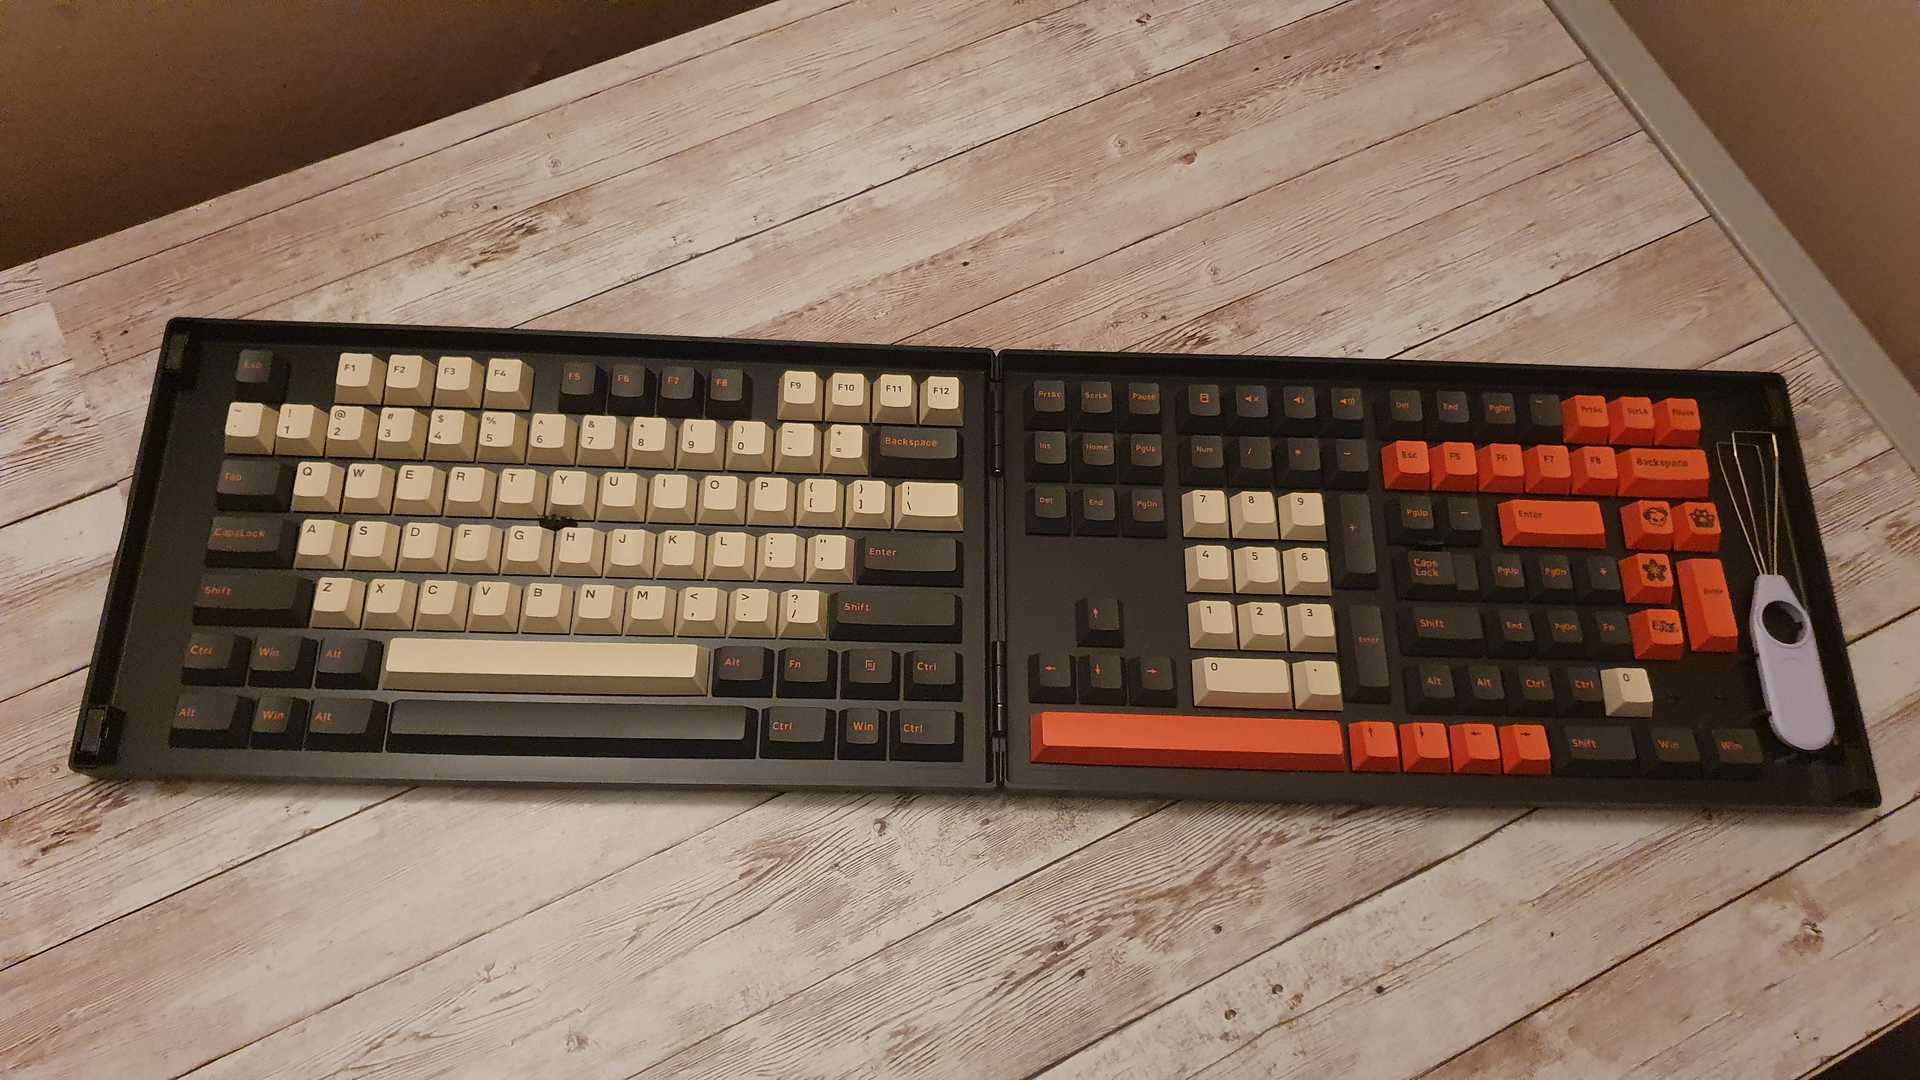
Finally it was time for the keycaps. The set that I got included a ton of keycaps allowing me to setup the keyboard however I wanted. It also included something like a second set of keycaps, but all where orange. (Almost didn't notice that second set as it was kinda hidden in the box)
Just wanted to highlight the nice case in which the keycaps were arranged. I definitely wasn't expecting that level of quality for that low of a price.
The image is not the best, but it shows all the keycaps. I love that I can choose to use an orange space, or escape, etc. Also the keycap puller that is included is quite nice.
I did have some trouble getting the left shift to work properly. When pressed it wasn't going up by itself, so I thought that the stabiliser may be too tight or something, but turns out the issue was that the keycap wasn't pushed in all the way. Pushing it down all the way and it worked perfectly.
And that was it. Super simple assembly, though you could say that in the end the keyboard isn't really a custom keyboard anymore.
I would argue however that the meaning of custom can mean different things to different people. A board like mine with switches that I picked and keycaps that I picked is custom. A board with custom case and PCB is also custom. A 3D printed board with hand wired switches is the most custom you can get in my opinion. A board from Logitech is not really custom.
Anyways lets see the results.
The results
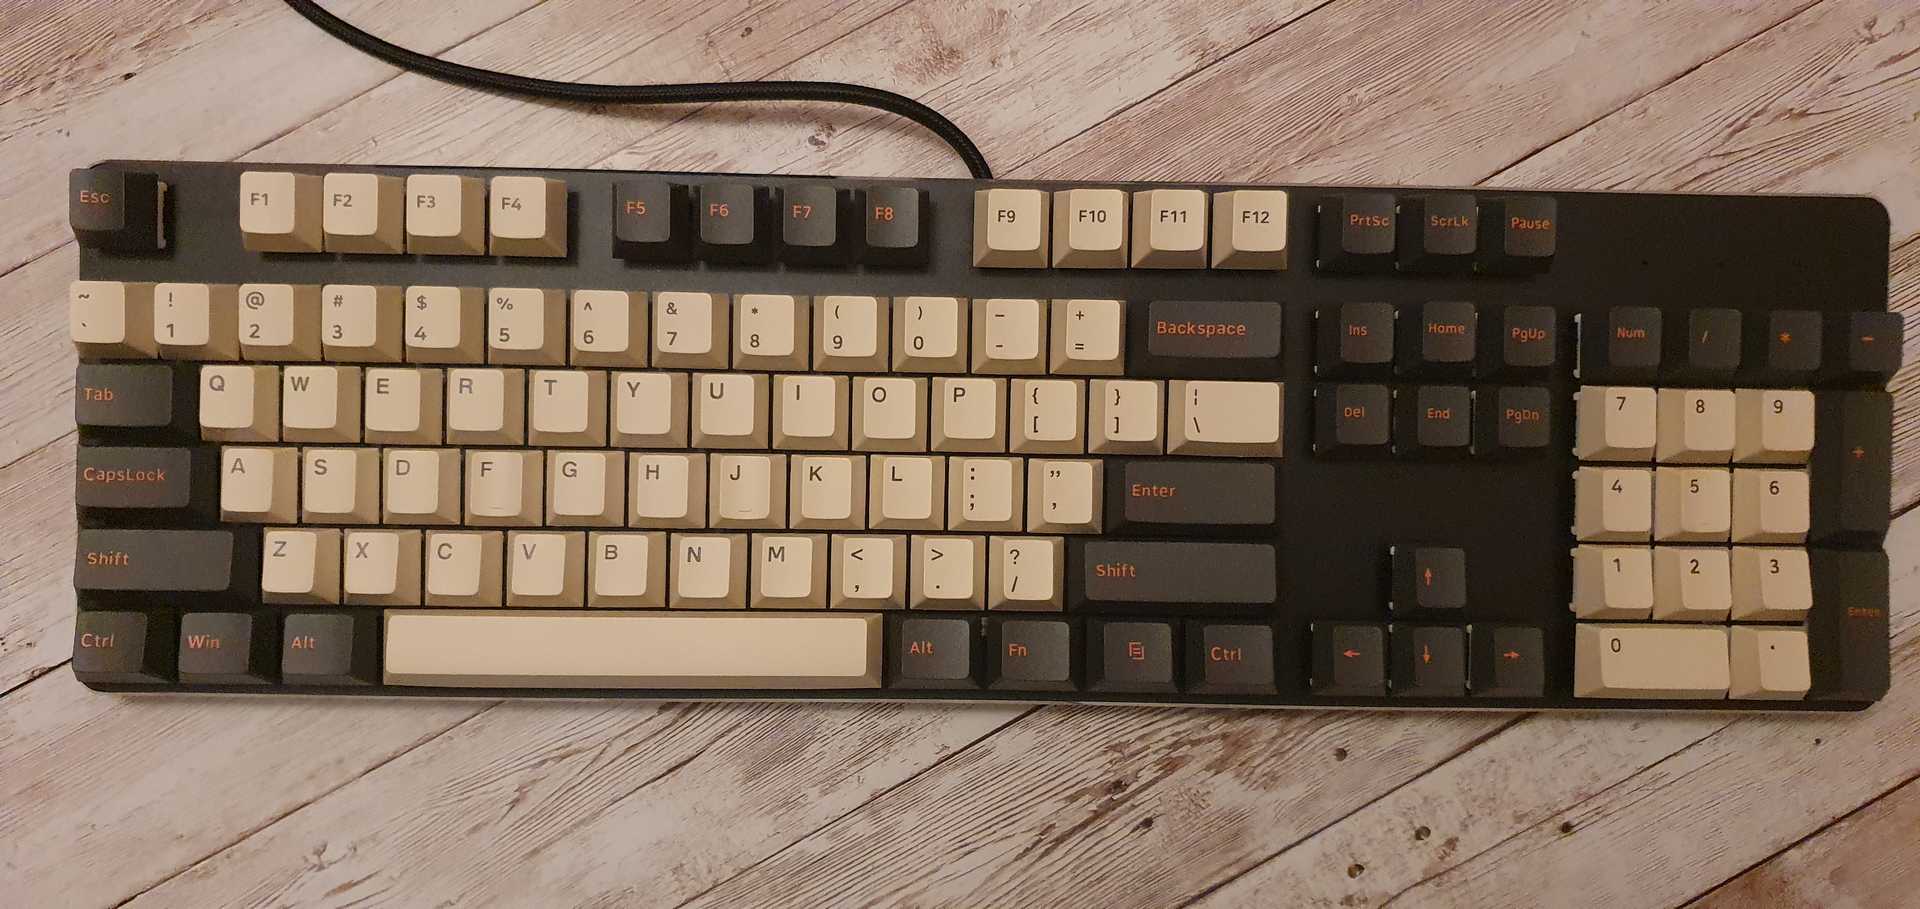
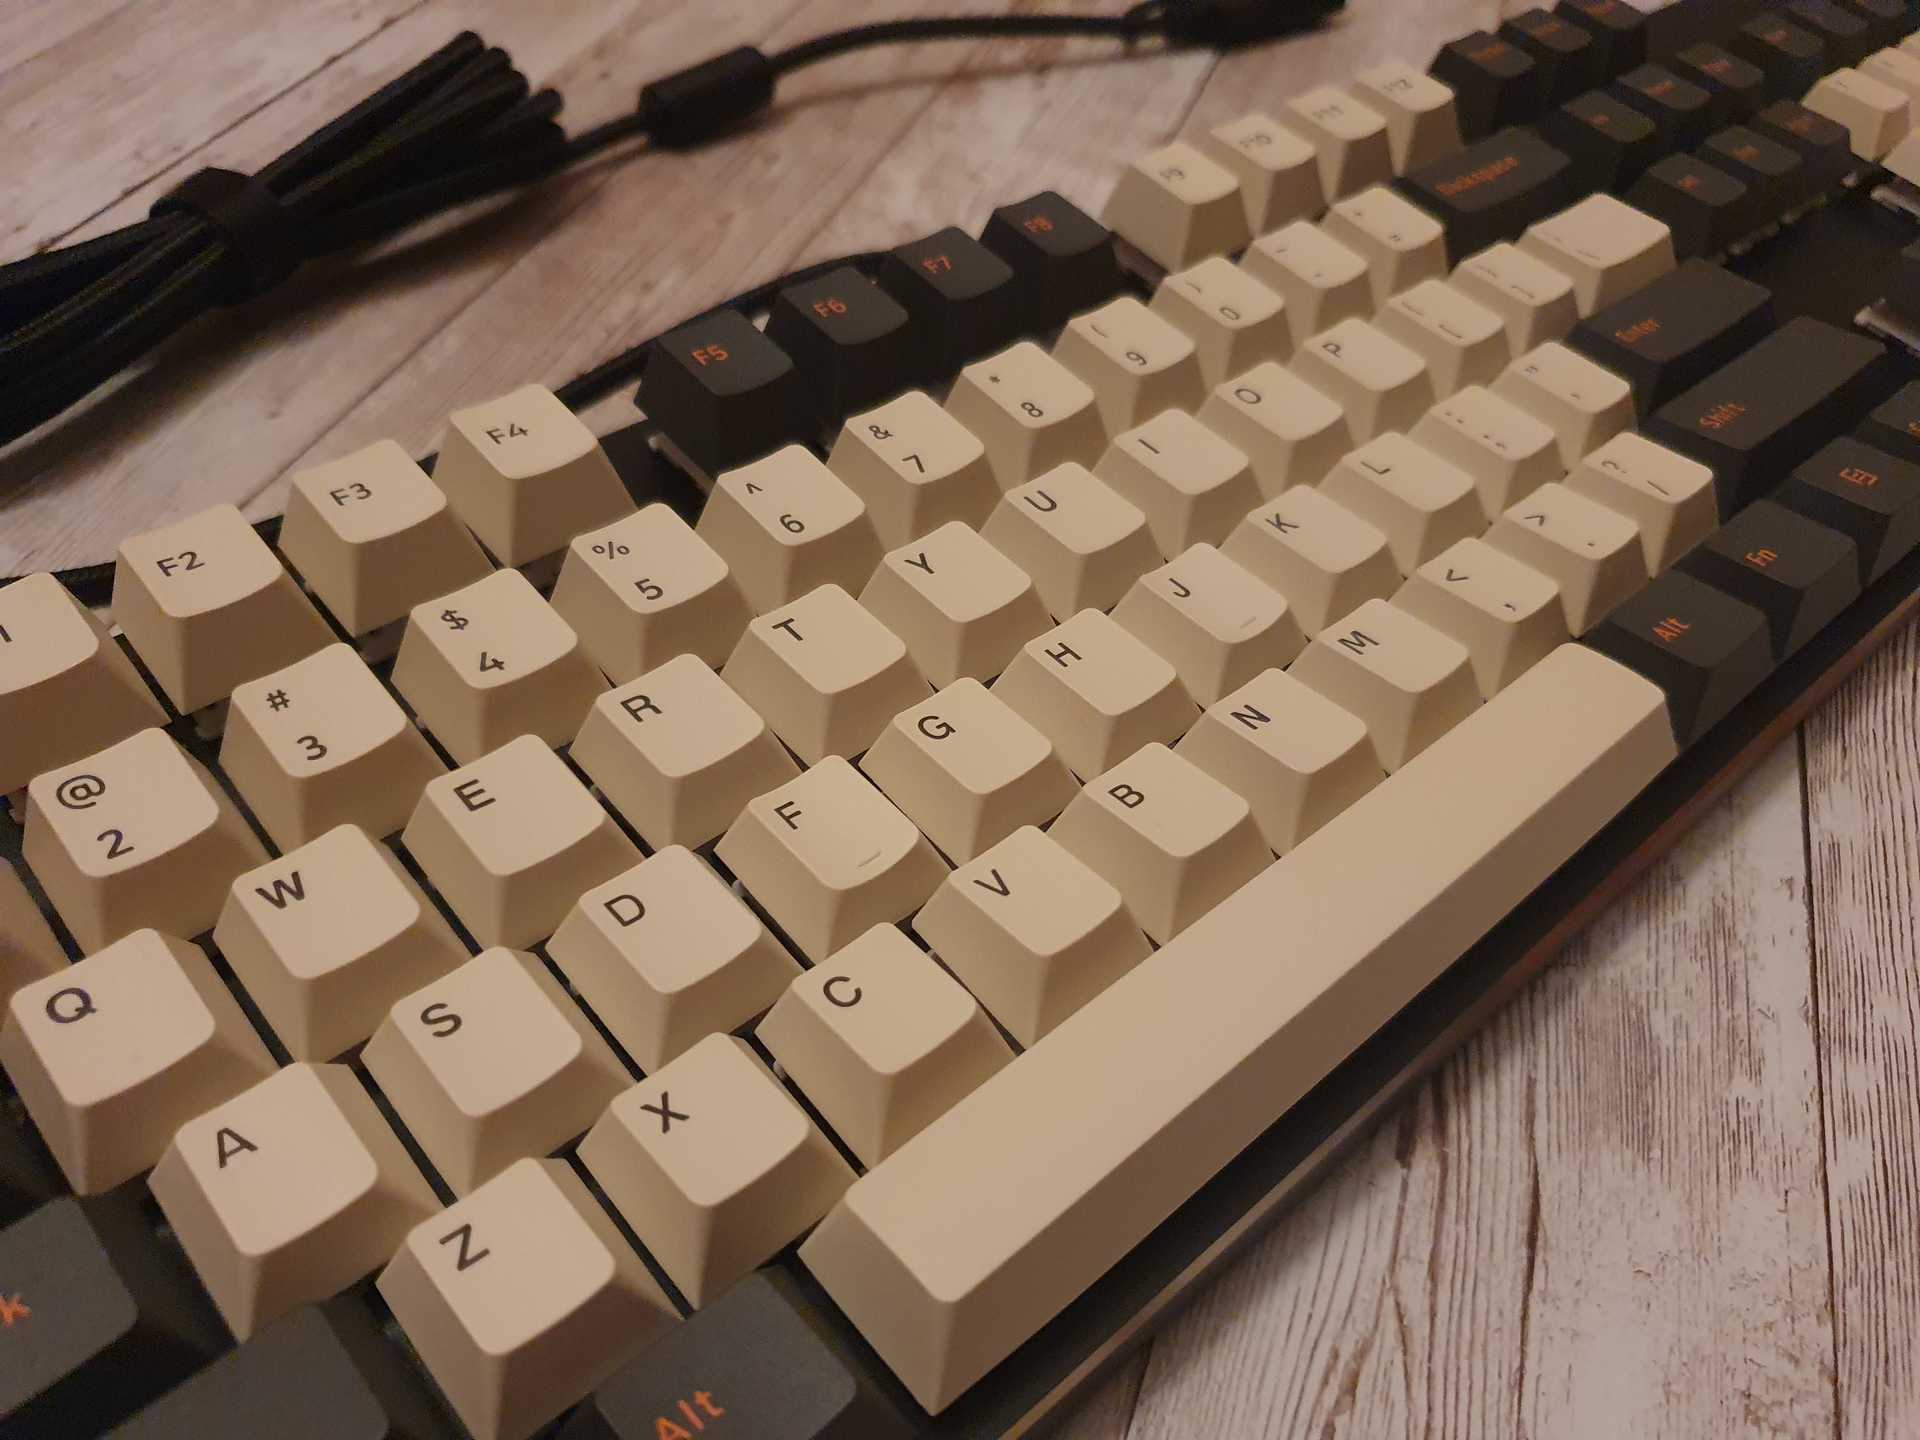
Here is it. I may switch up some of the keycaps with some of the orange ones, but this is how it looks at the moment when I'm typing this. I will say that it feels a lot better to type on it than I was expecting.
I'm really happy with the feel of the switches. Pretty light, but also can definitely feel the tactile bump. Love the sound they make when combined with the keycaps.
Speaking of the keycaps I love their look. I don't know why, but I love lighter colours when it comes to keycaps. It's a pity that the keycaps that I got are not backlit friendly, but I wouldn't change them even if I could get new ones for free. I like them that much.
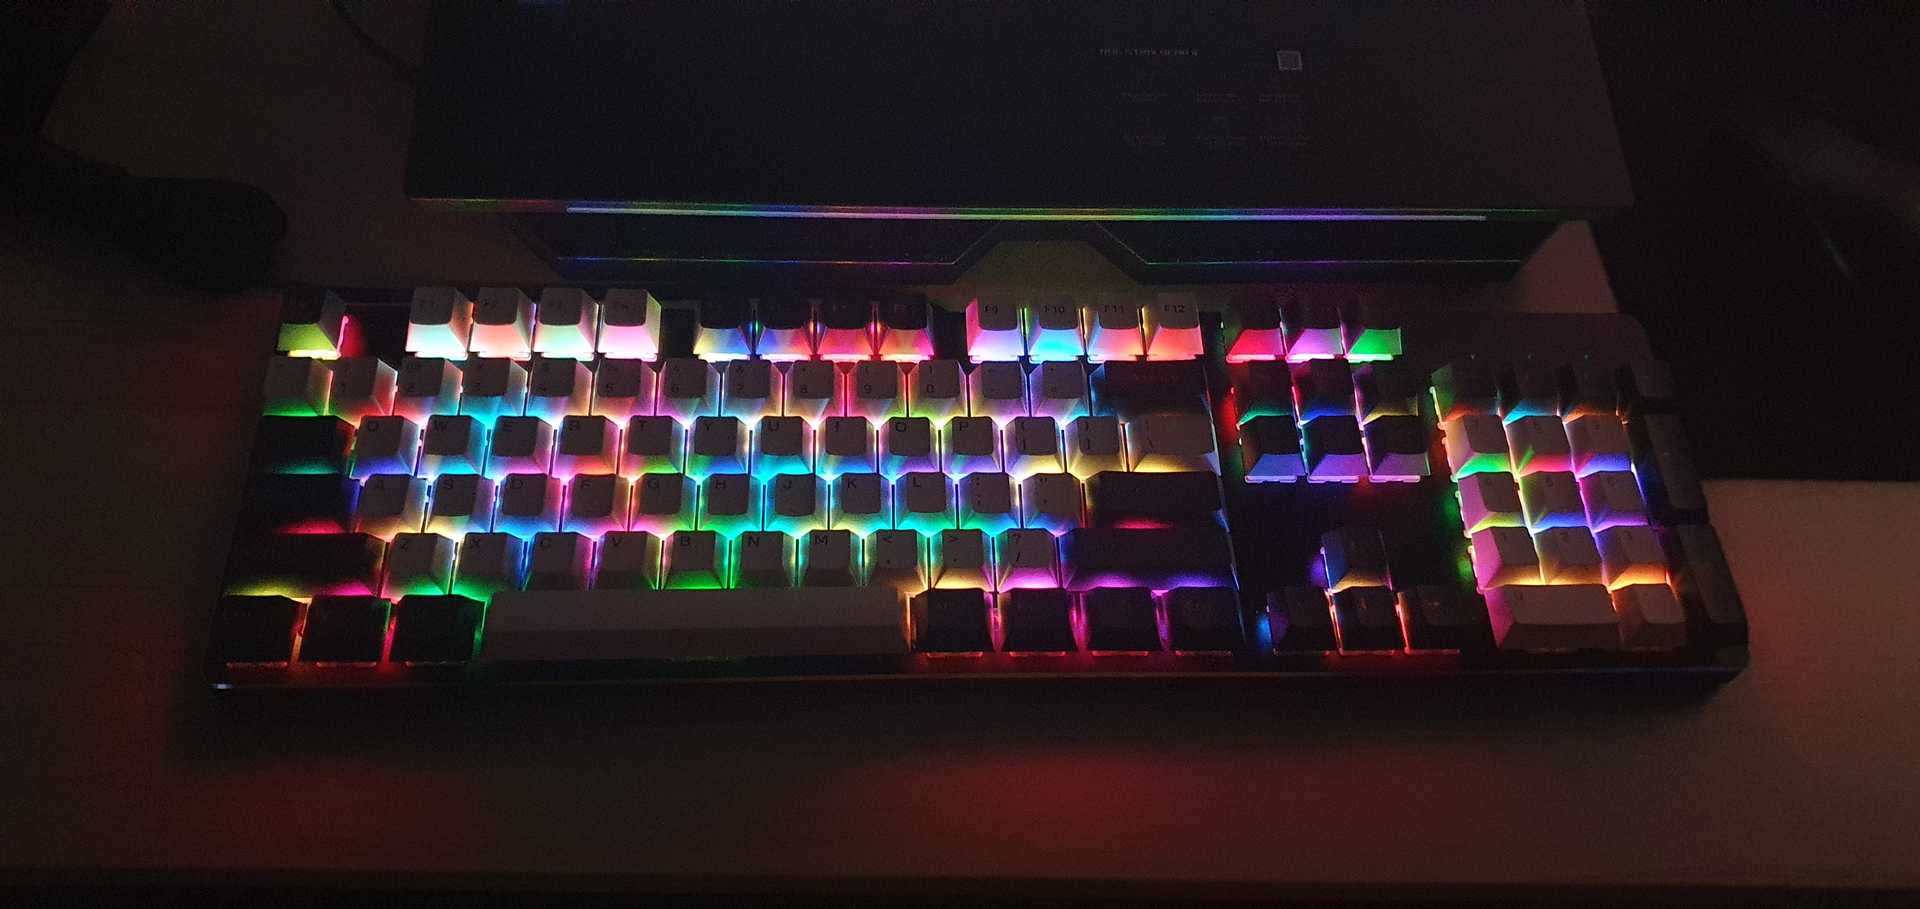
Here is how the backlight looks, though the image is a bit overexposed. It's not bad.
And finally some comments about the base. When I'm saying the following keep in mind that I've never used a super expensive case with a PCB, etc. However I think that the Glorious GMMK is the best way to get started with custom keyboards. It is also probably the best and one of the few full size case/bases which you can customise.
The top plate is made of metal and overall the whole base feel heavy and pretty high quality. Another great thing is that there are no logos anywhere on the top keeping it super simple. It's also pretty compact, has a nice braided cable and nice rubber feet.
In terms of the RGB backlight I'm again kind of amazed by the quality and amount of features for that price. It is a per-key RGB so every key switch has its own RGB light. This is super cool as it makes it possible to have some super cool effects like lighting up the button that you pressed. Overall the backlight feels very similar to a keyboard like the Corsair K95 Platinum.
The only bad thing that I can say about the base is the lack of ability to easily disconnect the cable.
Is it worth it?
I'd say it's definitely worth it, but it's important to consider if a keyboard like that will be useful to you. Currently I don't have a desktop setup so having a keyboard on my desk while I already have one on my laptop is a huge waste of space.
On the other hand is the typing experience. I didn't need much time to get used to it (less than a day) and it is much better than any laptop keyboard.
However there is also the price which even if you're going for the cheaper parts will still be pretty high. I would still go for a lower end custom keyboard than a higher end mechanical keyboard from a brand like Corsair or Logitech.
And one last thing. Even though I usaully like a challenge, I wouldn't recommend doing a DIY build with custom wiring and 3D printing for a first build.
P.S. I'm not giving up on the DIY keyboard. I will try to print the case again when I have more time around my 3D printer.
